This blog post explains the data anonymization process thepracticaldba/Data-Anonymization which I have developed with the help of a demo.
We will go through the below sections as part of the demo:
- Download AdventureWorks Database
- Classify database
- Install the data anonymization procs
- Execute the procs
- Verify and compare the anonymized data with Production data
- Download AdventureWorks Database
For the purpose of this demo, I have a local instance of SQL Server 2022 Developer Edition (x64) (CU8, 8vCPU and 32GB RAM) and for the database I have downloaded the sample AdventureWorks2022 OLTP backup from AdventureWorks sample databases – SQL Server | Microsoft Learn. This sample database will be considered as the target database to anonymized.
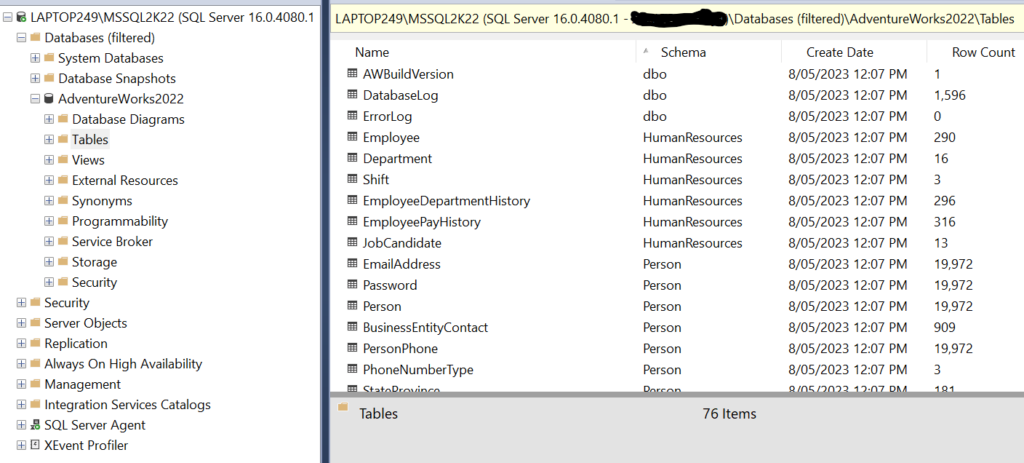
AdventureWorks2022
- Classify Database
Now we will follow the steps mentioned under steps-to-implement-the-data-anonymization-process to anonymize the database.
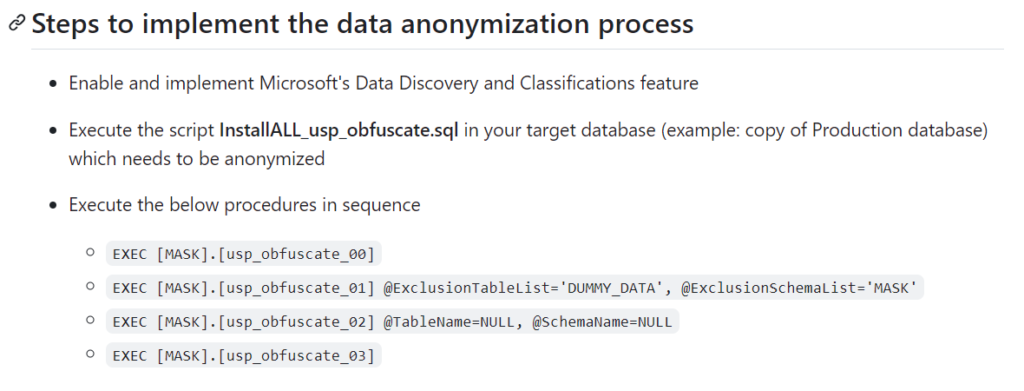
steps-to-implement-the-data-anonymization-process
The 1st step is to classify the database. We will use the feature under Tasks–>Data Discovery and Classification–>Classify Data to perform this step.
Note: This will discover and classify data as per Microsoft’s default SQL Information Protection Policy. If your company’s IT Security Policy requires a different set of classifications, then you will need to modify the the policy file via Tasks–>Data Discovery and Classification–>Set Information Protection File
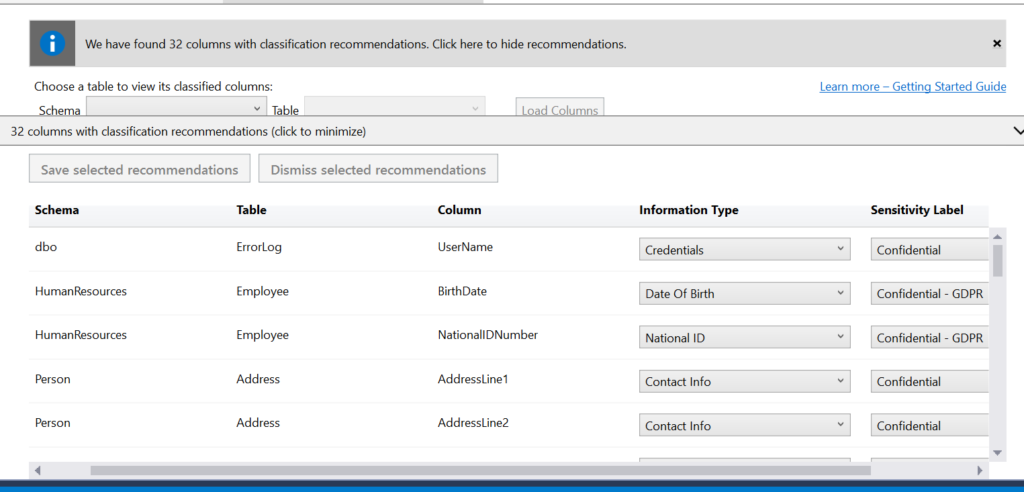
Data Classifications
I have selected all the 32 identified classified columns and can now generate the below report.
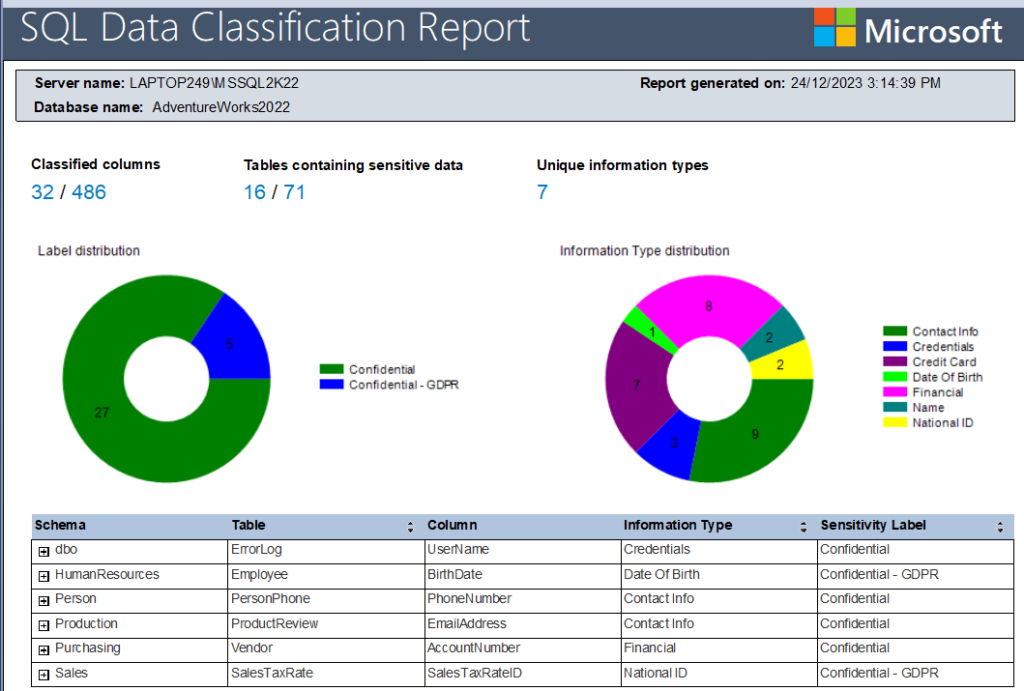
Classification Report
The same can also be viewed by running a query using DMV sys.sensitivity_classifications.
Query Data Classifications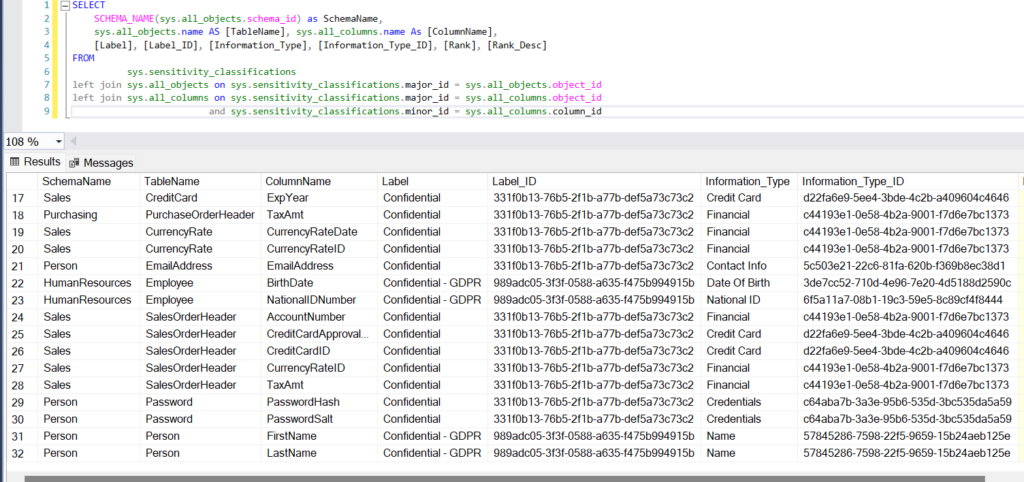
- Install the data anonymization procs
We will now execute the script InstallALL_usp_obfuscate.sql in AdventureWorks database.
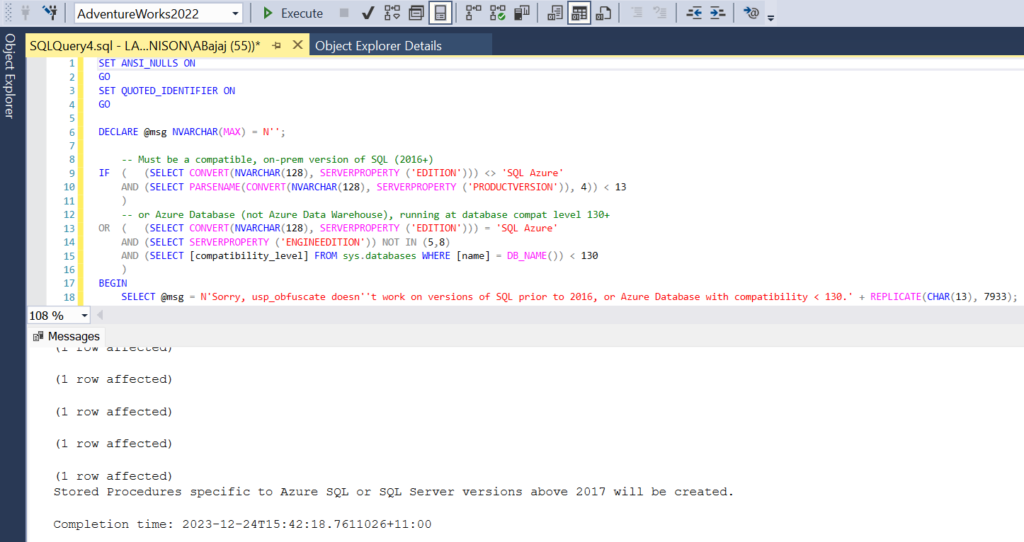
Execute the script InstallALL_usp_obfuscate.sql
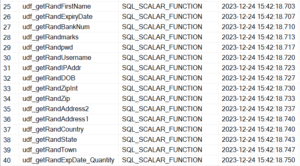
This has installed the various database objects – tables, views, stored procedures and scalar udfs all under schema – MASK.
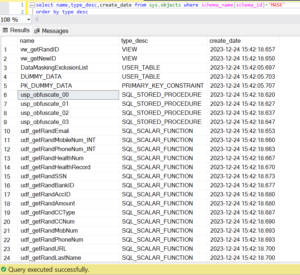
Anonymization Objects
- Execute the procs
Now we are ready to start the anonymization process. Lets run the procedures one by one.
Before we run the 1st procedure, we have the option to exclude certain columns of a table or entire table by making an entry for each column to be excluded in table [MASK].[DataMaskingExclusionList]. This is useful for scenarios where we need to perform this activity on a reoccuring basis and we are aware of certain columns which if anonymized would be problematic for the target team who will be using this data. In my case, I will be leaving this table empty.
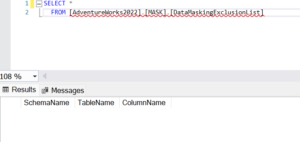
[MASK].[DataMaskingExclusionList]
EXEC [MASK].[usp_obfuscate_00]
EXEC [MASK].[usp_obfuscate_00]
This procedure uses the classifications that we did in the previous step and builds the Update statements based on the column’s information type (Contact Info/Credit Card/Financial etc.), classification label (Confidential/Confidential – GDPR etc.) and data type.
Lets now run the next procedure.
EXEC [MASK].[usp_obfuscate_01] @ExclusionTableList=’DUMMY_DATA’, @ExclusionSchemaList=’MASK’
This procedure populates the logging table [MASK].[DataObfuscateList] with update scripts and filter conditions, adds in the rowcount of the tables to be anonymized and excludes any tables with rowcount=0. It also allows us to exclude certain tables on the fly which can be useful for specific scenarios where the target audience requires a certain table to be anonymized with meaningful data and so has to be done outside of this process.
Note: @ExclusionTableList parameter will exclude the entire table (all its columns), so when you need to exclude only specific columns of a table, make entries in [MASK].[DataMaskingExclusionList] instead.
EXEC [MASK].[usp_obfuscate_01] @ExclusionTableList=’DUMMY_DATA’, @ExclusionSchemaList=’MASK’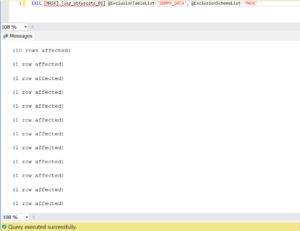
We can query the logging table [MASK].[DataObfuscateList] which shows the tables to be anonymized, the update statements it will run and rowcount of each table.
[MASK].[DataObfuscateList]
We are now ready to run the procedure which will execute the above update statements and anonmize the tables and columns in scope.
EXEC [MASK].[usp_obfuscate_02] @TableName=NULL, @SchemaName=NULL
Note that this procedure takes @TableName and @SchemaName as input (Default values are NULL, meaning all identified tables will be anonymized). This can be especially useful in scenarios where we need to run it for specific tables only , example in the case of failures.
EXEC [MASK].[usp_obfuscate_02] @TableName=NULL, @SchemaName=NULL
All the tables have completed successfully except HumanResources.Employee. Here is the error message recorded in the logging table.
The UPDATE statement conflicted with the CHECK constraint “CK_Employee_BirthDate”. The conflict occurred in database “AdventureWorks2022”, table “HumanResources.Employee”, column ‘BirthDate’.
Lets look at the definition of this check constraint.
ALTER TABLE [HumanResources].[Employee] WITH CHECK ADD CONSTRAINT [CK_Employee_BirthDate] CHECK (([BirthDate]>=’1930-01-01′ AND [BirthDate]<=dateadd(year,(-18),getdate())))
If we check the DOB data in MASK.DUMMY_DATA table, we can see that there are 1k+ records whose age is less than 18 years.
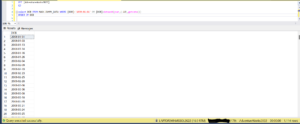
DOB data
As I have mentioned previously this anonymization process provides a basic framework to DBAs who can then add customizations as per their database schema and model. This is the reason why the fake data includes people younger than 18 years of age and there are various databases which do hold such data, example: a table containing the list of all students at a particular school (in which case the age of the childeren will almost certainly be entire below 18 years).
There are various ways in which you handle this scenario- you could update the fake data to reflect the age criteria required as per the check constraint or modify the scalar udf [MASK].[udf_getRandDOB]() to include only people above 18 years of age. In my case I will update the DOB data in MASK.DUMMY_DATA table so it satisfies the check constraint.
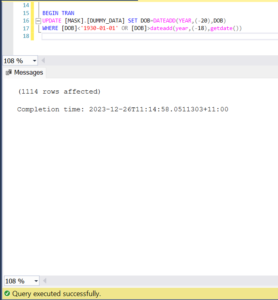
Modify DOB data
Lets now rerun the procedure specifying the failed table and schema name.
EXEC [MASK].[usp_obfuscate_02] @TableName='[Employee]’, @SchemaName='[HumanResources]’
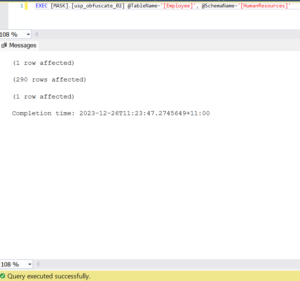
EXEC [MASK].[usp_obfuscate_02] @TableName='[Employee]’, @SchemaName='[HumanResources]’
And if we check the log table, it now shows all tables as succeeded.
[MASK].[DataObfuscateList]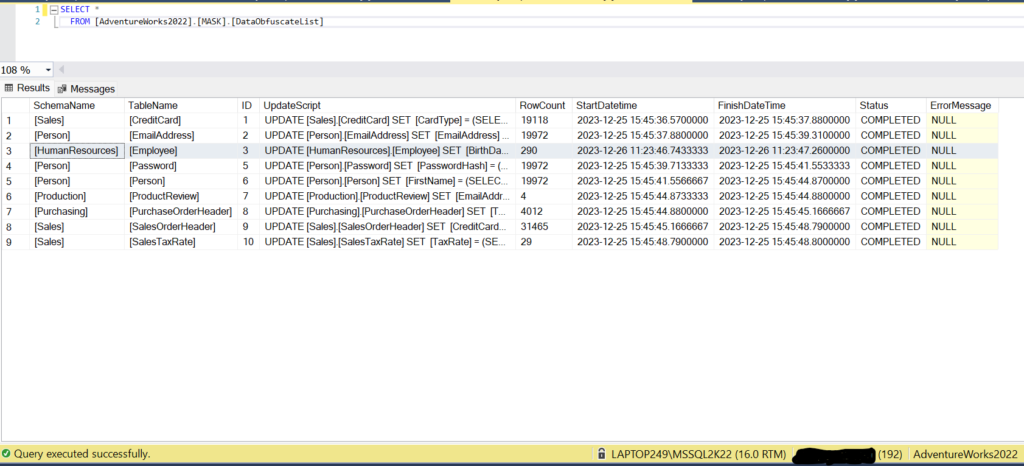
This can be verified by running the final (optional) procedure as shown below:
EXEC [MASK].[usp_obfuscate_03]
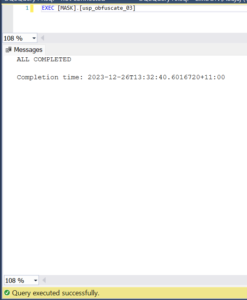
EXEC [MASK].[usp_obfuscate_03]
- Verify and compare the anonymized data with Production data
Lets compare some of the anonymized data with Production data.
FirstName and LastName columns were anonymized in the [Person].[Person] table. Here is the comparison from Prod database (AdventureWorksPROD2022) vs Anonymized Prod copy (AdventureWorks2022)
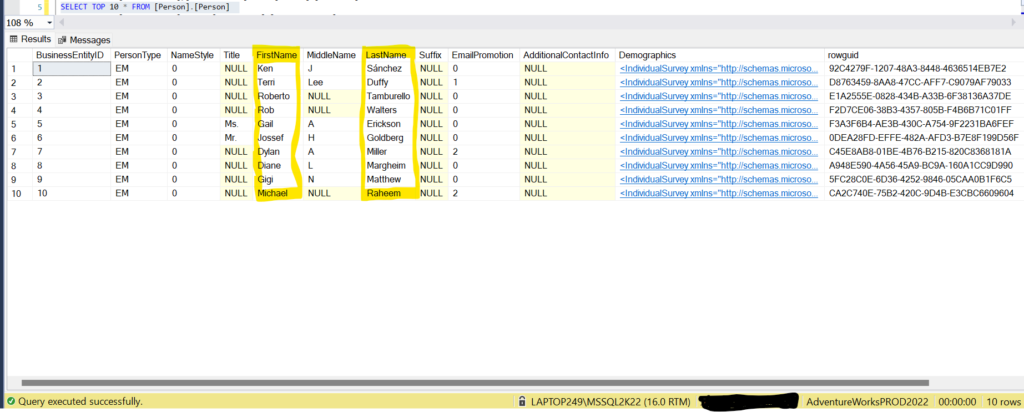
Prod Data
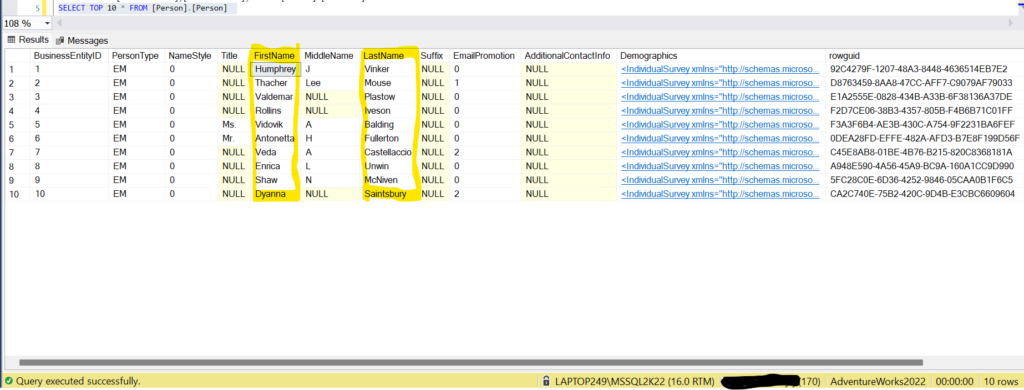
Anonymized Data
Same for EmailAddress column in table [Production].[ProductReview]
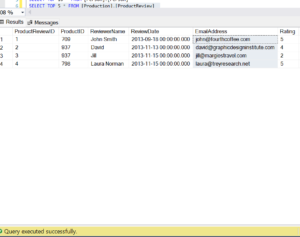
Prod Data
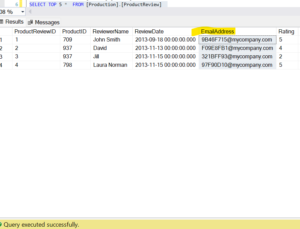
Anonymized Data
[Person].[Password] table, columns- [PasswordHash],[PasswordSalt]

Prod Data

Anonymized Data
- Final Thoughts
I hope this has been useful for you guys and would help in your role as a Production DBA. While this is by no means a universal solution for your data anonymization needs, it does serve as a framework which can be customozed based on your company’s individual data schema, model and IT Security policy.

